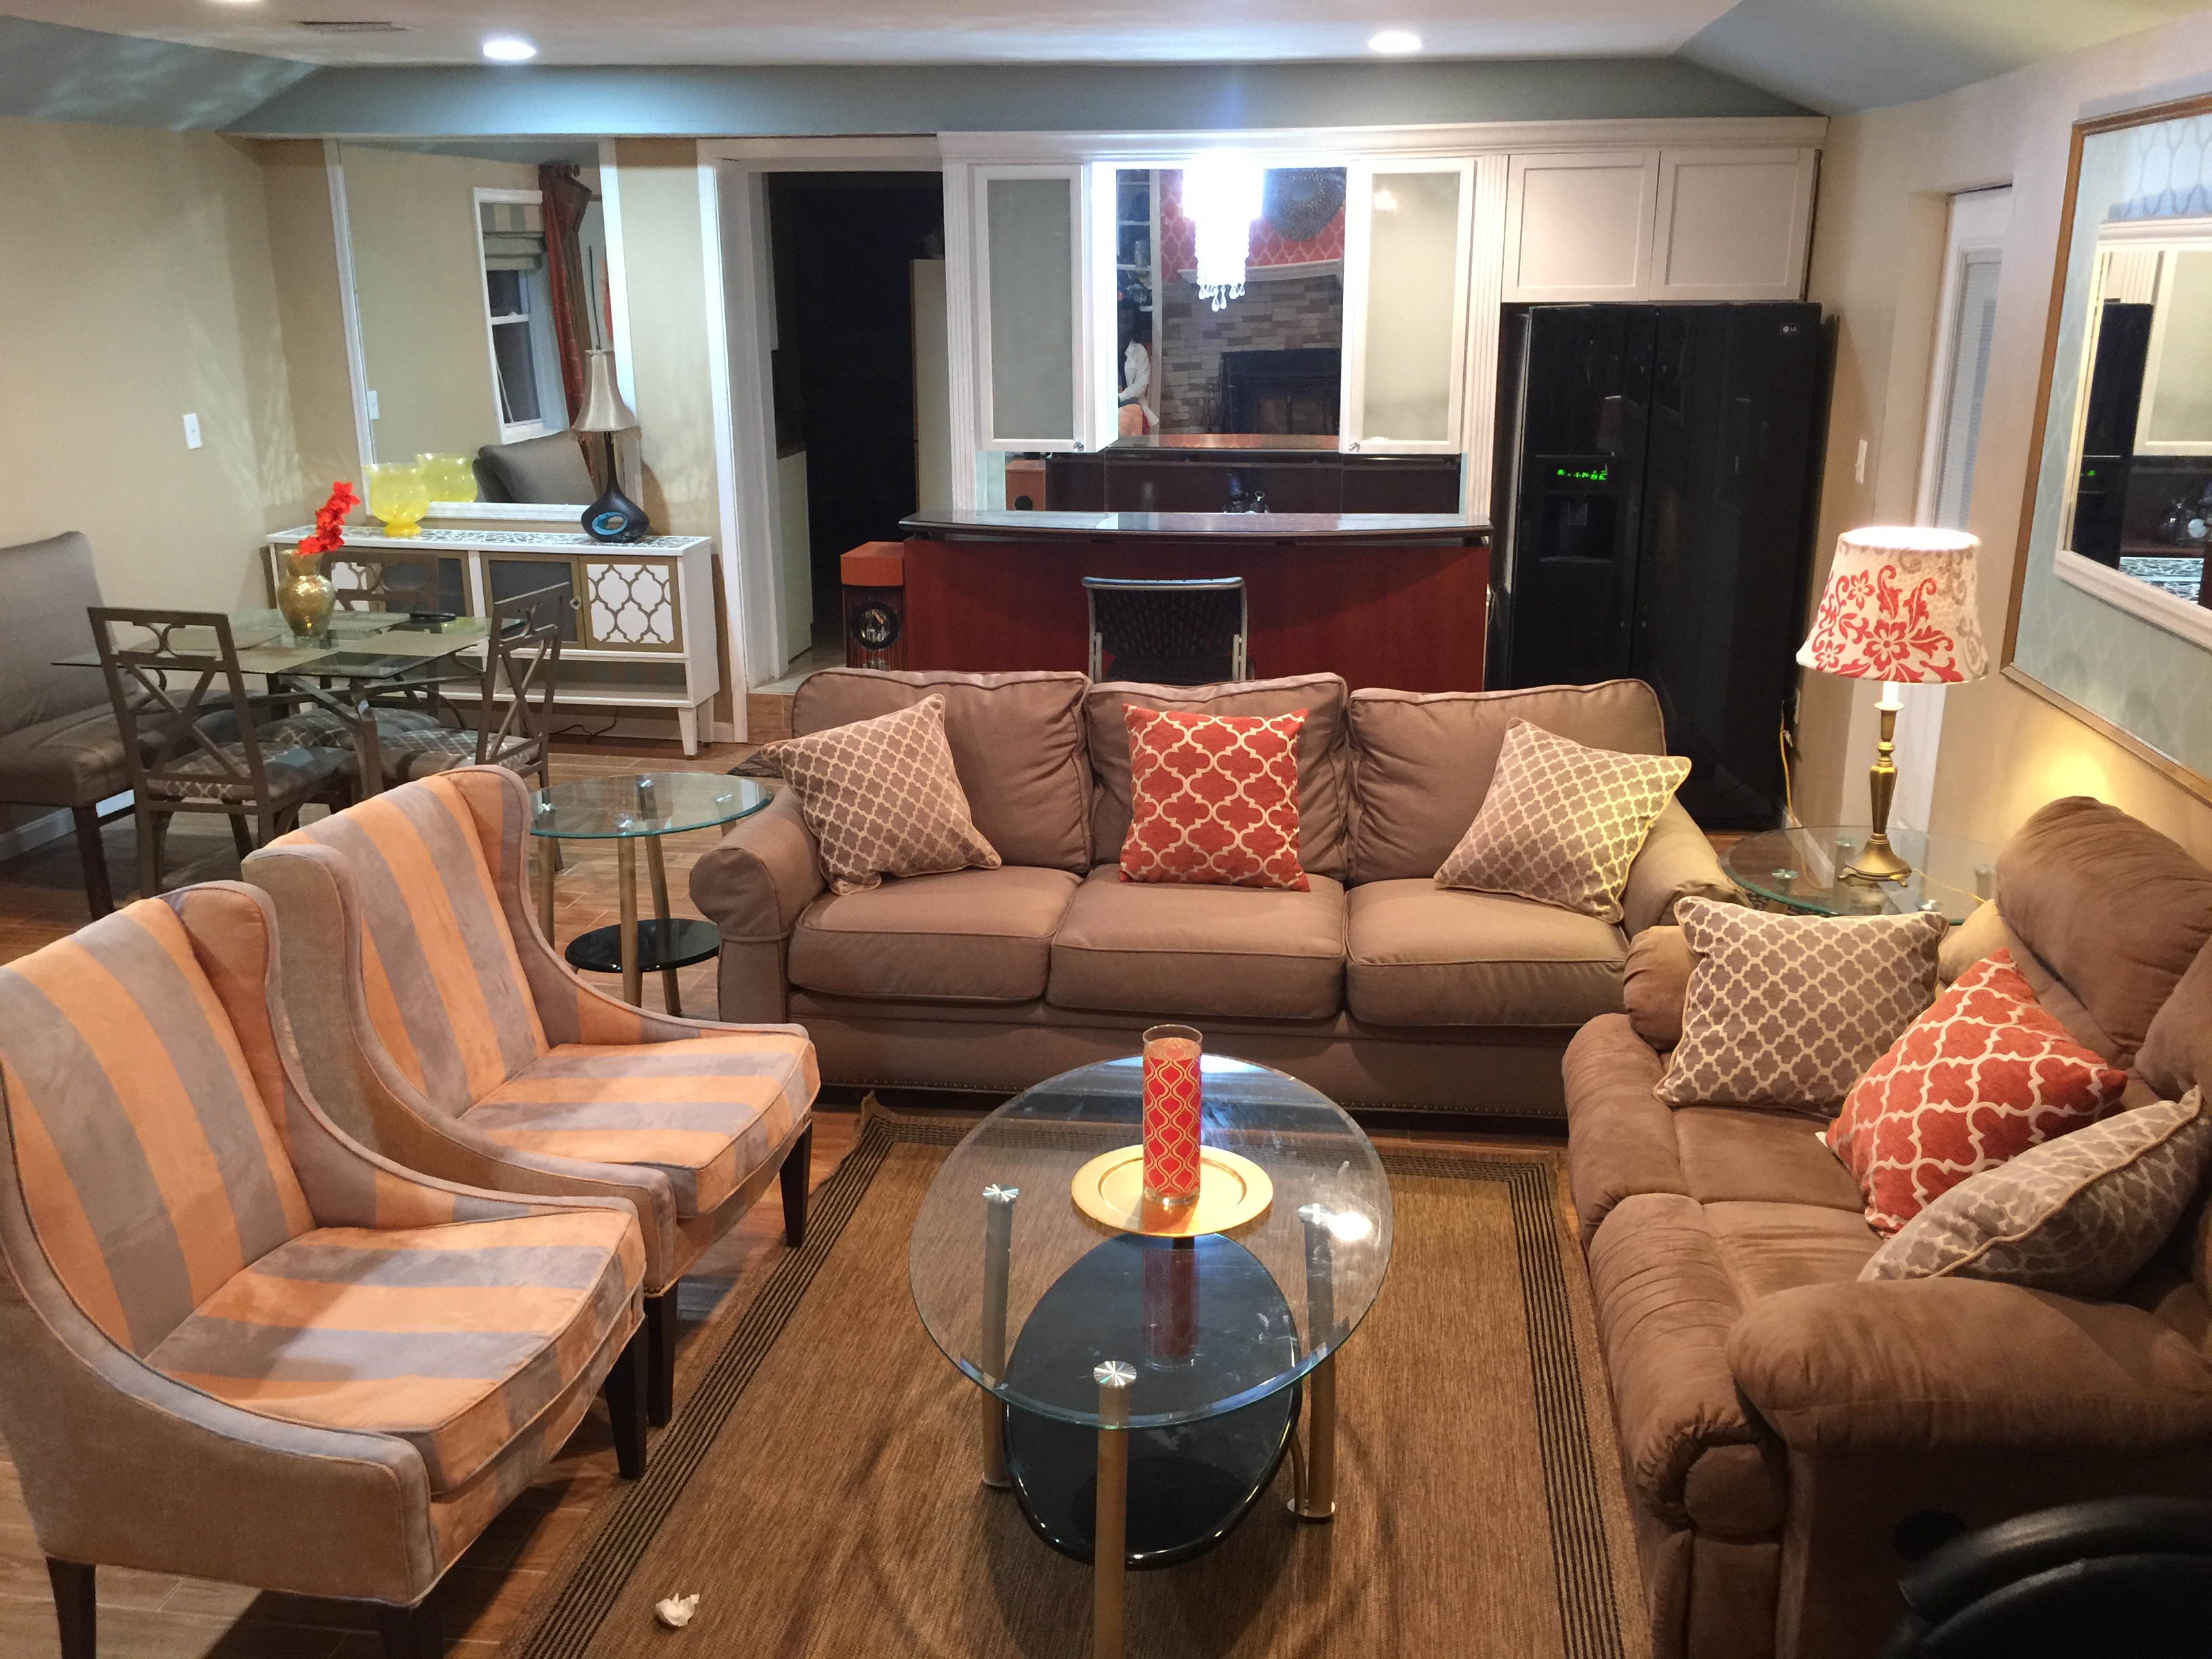
Old Bookcase Becomes Built-in Bar
Click on images for larger view
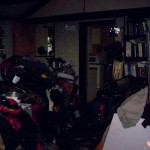
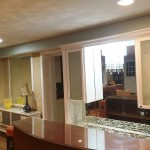
Upon looking at the space, and the room was decluttered, I understood that this family will rather have a built in bar instead of another book case. The size of the space was perfect and I had a plan for a modern built in bar area with the three major items for free on Craigslist. I picked up all the free items at different times.
I responded to the ad for the credenza and went to pick it up which was a bit challenging because being solid wood, it was much heavier than expected. It was however in very good shape and I got help to pick it up. I picked up the reception desk and knew I was only going to use the counter part and not the desk. The transformation process was as follows;
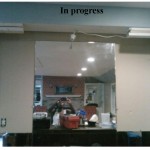
Step 1. Based on the measurements of the credenza and top cabinets, I found some free mirrors and I hang them first for a back wall for the built in bar.
Step 2. After placing the credenza where it had to be, I had to define the entire built in bar area with 3/4″ birch plywood side walls cut according to the profile of the cabinets on top and the credenza below. I painted the side birch plywood side walls in white semi gloss paint after cutting and I attached it to the back walls and ceiling of the built in area.
Step 3. I attached the top cabinets to the ceiling of the built in area and the sides to the birch plywood side walls I had created in step 2. I attached the credenza to the side birch plywood side walls and the back wall. Tip: I did not want to loose an electrical outlet on that wall because the credenza was in front of it so I cut out a rectangular hole in the back of the credenza directly in front of the outlet so that the outlet could be accessed from the inside of the credenza.
Step 4. I wanted to have a DIY chandelier above the credenza so I purchased a pendant light kit at Ikea for $5 and passed the cord behind the top cabinets and through the side birch wall and plugged into an outlet. I later added a switch to make it easier to turn on and off. I cut the right size hole into a 1/2″ piece of plywood and fitted the socket part of the pendant light kit and attached the plywood to the center ceiling of the built in.
Step 5. I finished the top of the built in bar with crown molding and the sides with trim and the bottom part of the credenza with baseboard.
Step 6. Once everything was in place, I painted the face of the credenza and stenciled in the pattern I have been using for this room.
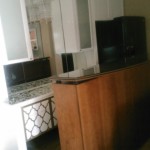
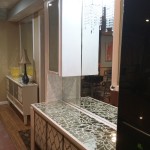
Step 7. I put some trim around the edge of the top of the credenza and broke some left over free mirrors and glued the pieces to the top of the credenza and when dry, following the instructions on a small bag of unsanded grout I filled in the gaps and completed the mirror mosaic counter top. For instructions on how I made the mirror mosaic counter, click here
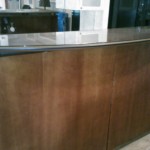
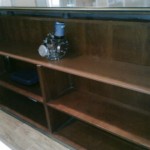
Step 8. I had picked up a free reception desk and counter from a business that was closing and the size and presence of a glass counter made it perfect for the room. I assembled only the counter part. It was in excellent shape and it did not require much work except for adding a shelf. and I left it with the beautiful cherry finish and placed it in front of the mirror mosaic top bar counter. Using my white semi gloss paint, I touched up any areas that need to be touched up and delightfully completed the project.
