


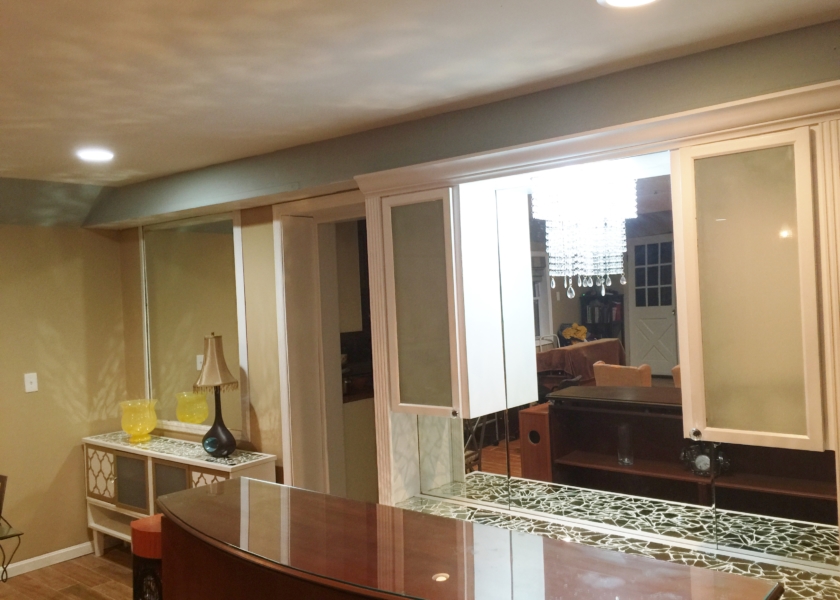
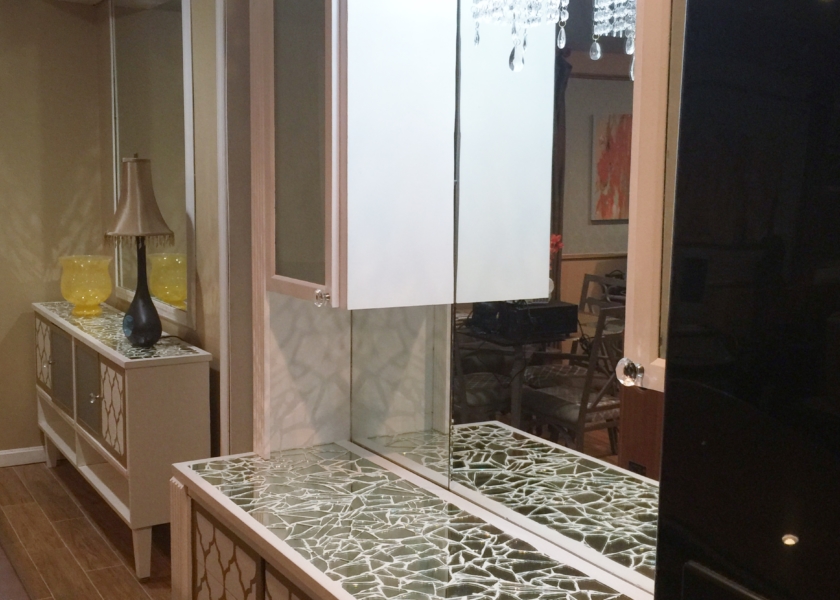

As part of the built in bar project, I decided to put a DIY crystal chandelier between the two top cabinets.
Items needed;
- Old lamp shade made to be used with a harp and finial. This could be round or square. I used a square shade.
- Silver Spray paint
- About 30 yards stringed crystals
- 5 tear drop crystals
- 1 pendant light kit
- 1 Ikea Dimma cord dimmer
- 4 screw eyes
- I purchase the lamp shade from the thrift store for about $3.00.
- I removed the fabric and completely sanded off the metal frame removing any left over glue.
- I spray painted the frame with 3 coats of silver spray paint.
- When dry, I added a third row in the center using wire I purchased from the thrift store.
- I separated the stringed crystals into 7″ lengths.
- I turned the lampshade the other way.
- I looped a number of the 7″ stringed crystals to the top metal (first row)
- I repeated the same to the second and third rows and added tear drop crystals to the corner and center stringed crystals.
- In the mean time, I had purchase a pendant light kit from Ikea for $5.00 and passed the cord from the top of the built in to a cord dimmer then to an electrical outlet. The cord dimer is used to control the light.
- I had cut a hole for the socket of the pendant light kit and secured it by unscrewing the socket cover and re-attaching it after I put the socket onto the hole.
- I completed the rest of the built in so that the cord does not show and only the socket for the light bulb was showing.
- I attached the completed crystal chandelier by slightly prying open 4 screw eyes, big enough for the frame of the chandelier to fit through. Note, I chose to use screw eyes instead of cup hooks because I wanted the chandelier to be very secure without any risk of un hooking.
- Using the top frame of the chandelier as a guide, I traced the shape against the ceiling with the light socket in the center.
- I screwed in the screw eyes into the 4 corners.
- I hooked the completed chandelier and screwed in the light bulb to complete this DIY chandelier project.